You might have read about the Desktop Scanner Connection using (Twain) or the Fujitsu Scan Snap Integration. Those both require Internet Explorer, so I pretend like they don’t exist. Here are the four ways we recommend to scan documents directly into NetDocuments.
Option 1: Continue Scanning to Email
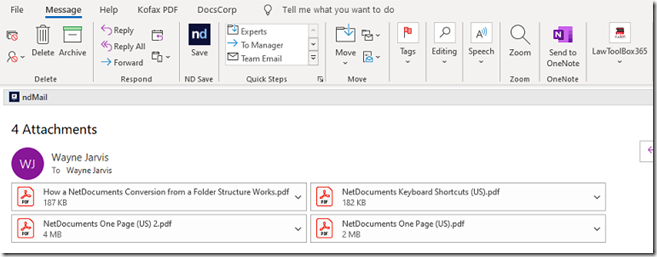
Your current scanner is set up to send pdfs to your Outlook inbox.
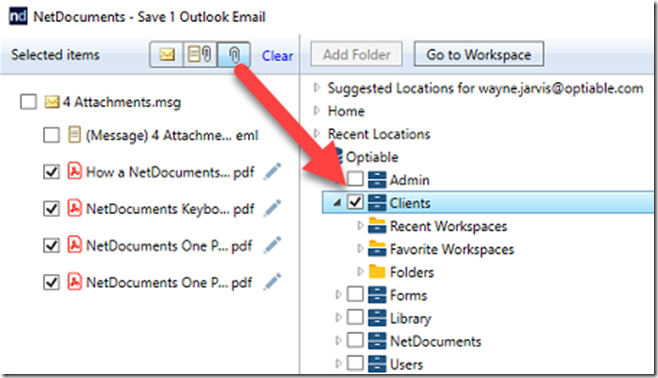
Once you get an email with those pdfs, click on the ndSave button in Outlook.
Save those attachments to a location in NetDocuments.
Option 2: Scan to a folder on your Server. Use the NetDocuments Upload button to upload those scans into NetDocuments.
Your scanner is set to scan to a location on your Network. Once you scan a document and it appears there, use the NetDocuments upload button to bring the documents to NetDocuments.
This option works, but you have to be at the office to access the scans folder on your network. The point of NetDocuments is to free you up to be completely mobile, so…
Option 3: Scan to a Folder in NetDocuments using the folders email address
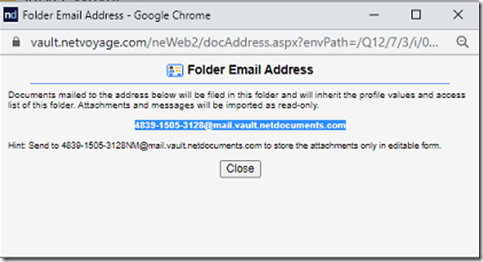
This is a combination of Option 1 and Option 2. You have a scanner that allows you to scan to email. Every folder in NetDocuments has an email address. Set up a Scans Cabinet in NetDocuments and create a folder for each user.
Grab the email address for each folder.
Plug this email address into the scanner.
When Wayne Jarvis selects his name in the scanner, it will email the scanned documents to his scans folder in NetDocuments.
Option 4: Set your desktop scanner to open directly in Adobe.
When you scan a document via a desktop scanner, set it up to open your Default PDF Program directly. Use the NetDocuments integration in your PDF Program to save the document directly in NetDocuments.
I am assuming most desktop scanners support that method. Here is how we do it with a Fujitsu ScanSnap.


