
Sometimes, a client may want to hand off an entire matter — all documents and subfolders — to a third party via a flash drive. NetDocuments doesn’t offer a direct “Export to USB” option, but with ndSync, it’s easy to accomplish this securely and efficiently.
This post walks you through:
-
Installing ndSync
-
Syncing matter from NetDocuments
-
Copying the synced matter to a flash drive
Install ndSync
To get started, you’ll need ndSync installed on your computer.
Download and Install:
Step 1. Go to the official NetDocuments ndSync download page:
https://support.netdocuments.com/s/article/205219960
Step 2. Download the appropriate version (Windows or Mac).

Step 3. Run the installer and follow the prompts until the installation is successfully completed.

Step 4. Once installed, ndSync will run in your system tray (Windows) or menu bar (Mac).
Sign In:
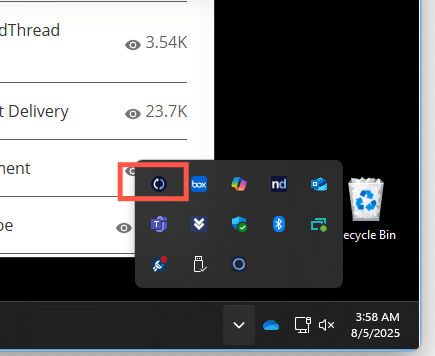
Step 1. Click the ndSync icon in the system tray.

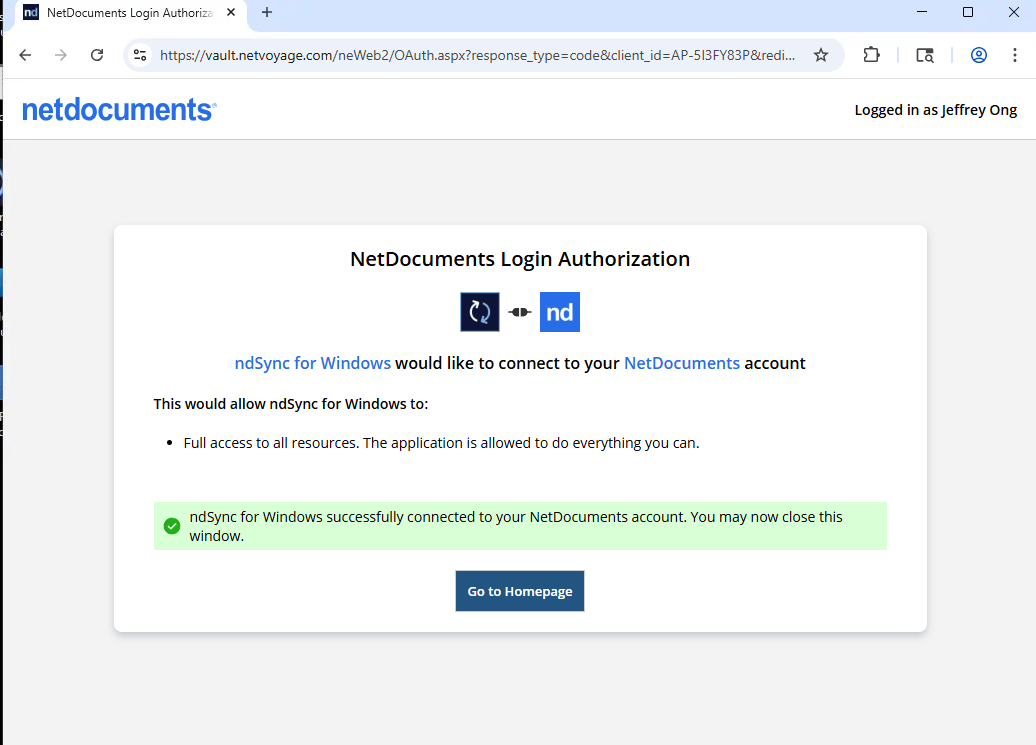
Step 2. Log in using your NetDocuments credentials (browser-based login).

Step 3. Authorize your device if prompted. Once ndSync successfully connects, you should see a screen like the example below.
Add a Matter to Sync:
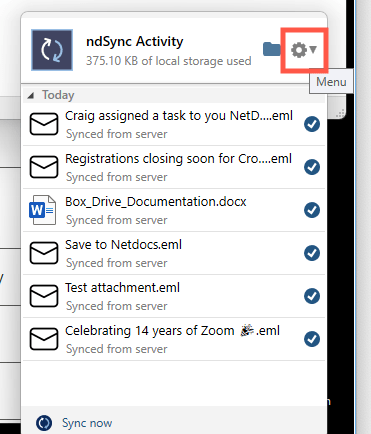
Step 1. Click on the ndSync icon.

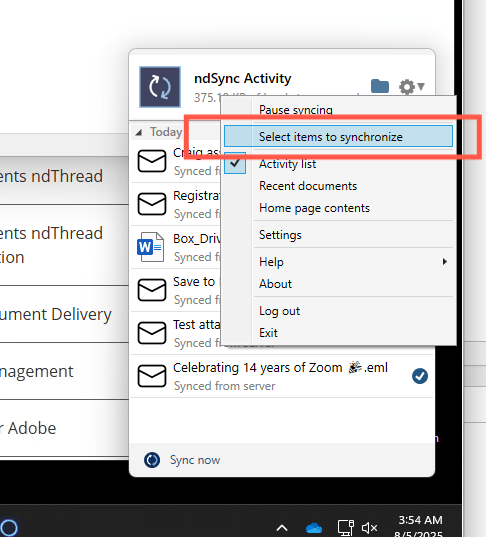
Step 2. Go to Settings.
Step 3. Go to Select Items to Synchronize.
Step 4. Navigate through your cabinets to locate the matter folder you want to Sync. And select by checking the box.

Step 5. Click OK.

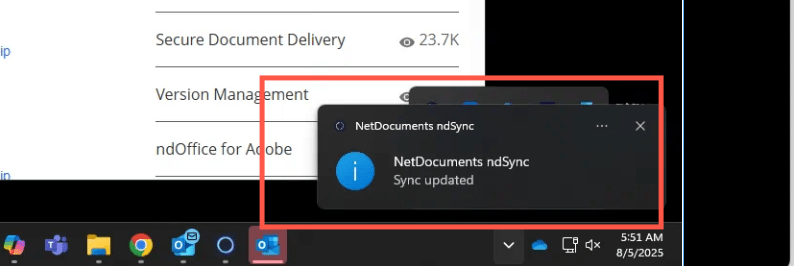
Step 6. Wait until the sync is complete — a pop-up will appear in the system tray when it’s fully synced.
Step 7. ndSync will create a local copy of the matter in your computer’s ndSync folder, typically located at C:\Users\<User>\ndSync\.

Copy the Synced Matter to a Flash Drive
Step 1. Insert your flash drive into the USB port.
Step 2. Open File Explorer and browse to:
Step 3. Right-click the MatterName folder and choose Copy.

Step 4. Navigate to your USB drive (e.g., D:\ or E:\), right-click, and select Paste. Check the box and click Yes.

Wait until the copying is finished.