In the previous post, we discussed how you can use the NetDocuments Email Addresses to have clients email documents directly into NetDocuments. While this works, it is only as secure as email, which means it’s not that secure.
The secure way is to set up a Sharespace in NetDocuments. Follow the steps below to do this. I recommend testing this out with your personal email address.
Part 1: Setup
Step 1. Add ShareSpace
In Workspace / Folder Options choose Add ShareSpace
2. Name the ShareSpace
3. Click Modify access
Once the ShareSpace has been created, go back into ShareSpace Options and click Modify Access. This will allow you to create users that can see that work in the ShareSpace.
4. Add Contacts to the ShareSpace
Part 2: Using the ShareSpace
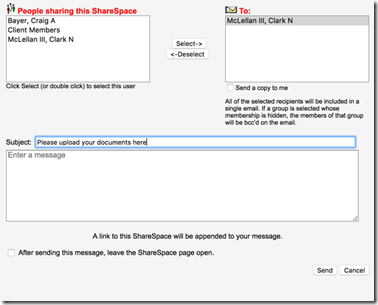
Once you add a user to the ShareSpace, they will get the following email below. This will allow them to create a NetDocuments Account along with a password.
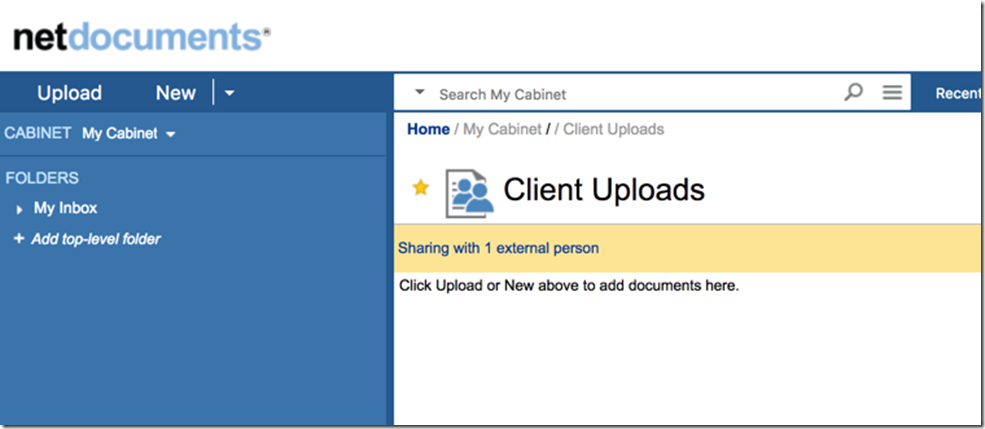
Once your client creates their NetDocuments Account, they can use the Upload button on the top left, to add documents to the ShareSpace.


