
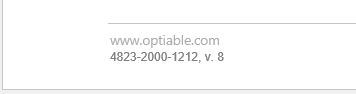
Legal Document Management Software like Worldox and NetDocuments can put a document ID in the footer of a document.
We go over this in great detail here: https://optiable.com/how-document-stamping-works-with-netdocuments-and-microsoft-word/.
The NetDocuments Stamp is pretty basic, and over the years, we have gotten a lot of requests to make changes to it. We have developed this word macro to enhance the NetDocuments Stamp.
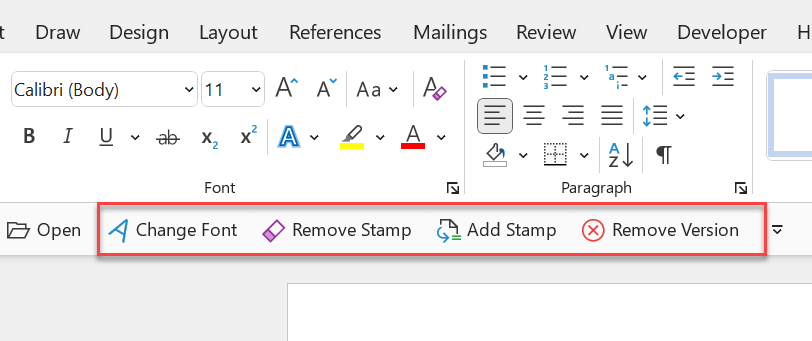
Change Font: This allows you to change the stamp font and size for that document.
Remove the Stamp: This will remove the stamp from a document. You can then save the document to NetDocuments without the stamp. You might have documents you need to upload to the court or send to opposing counsel, but you don’t want the stamp in place.
Add Stamp: Because of Firm Letterhead, you might have set your NetDocuments to Stamp the footer after the first page. The stamp won’t appear when you have a document with only one page. The add Stamp feature will add the stamp to one-page documents.
Remove Version: Will remove the version while keeping the document number.
Installation Instructions
Step 1: Download the Macro

https://optiable.com/ndOffice-macros
Step 2: Open up Windows Explorer and paste this location into the bar: %appdata%\Microsoft\Word\STARTUP
If that doesn’t work, go to
%appdata%\Microsoft\Word\
and create a Folder Called STARTUP

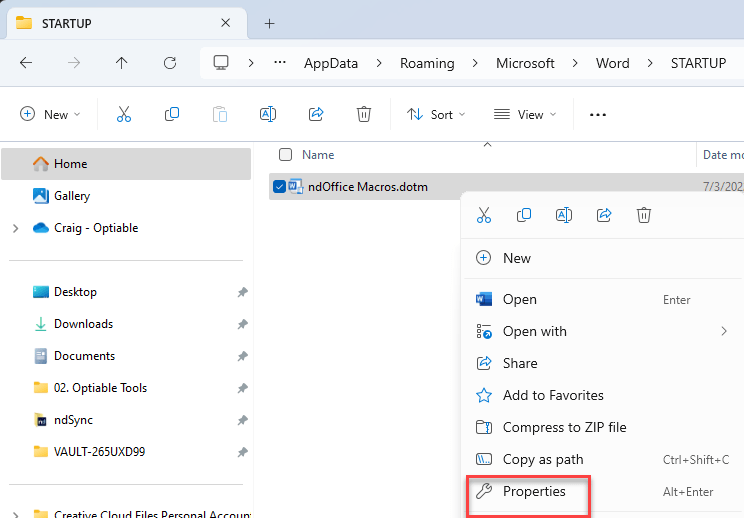
Step 3 Right-click on the Macro and go to Properties
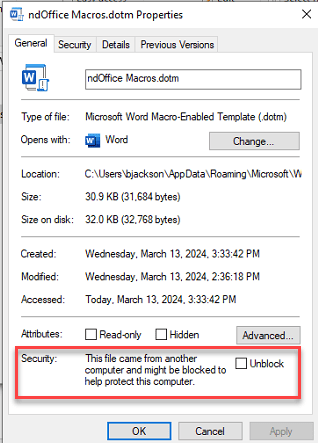
Step 4: Check the Box next to unblock and click OK
Step 5: Launch Word
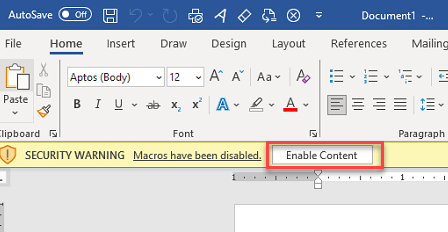
Step 6: Click Enable Content
Step 7: Make sure you are showing the Quick Access Toolbar

Note: Right-click over the save button