
In Microsoft Word, NetDocuments has the option of “stamping” a document ID onto the document.
There are two reasons you would want this:
- If you have a printed document in your hand, you can type this ID into NetDocuments to easily find your document.
- If you send someone outside the firm a document, and they send it back, you know where that document came from.

This is also very helpful if you have multiple versions of the document: you always know what document you are looking at. By default, NetDocuments ships with the Document Stamp turned off. To change your document stamp settings, follow the steps below:
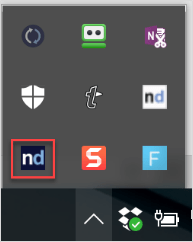
Click on ndOffice in the system tray (bottom right-hand corner of your computer)
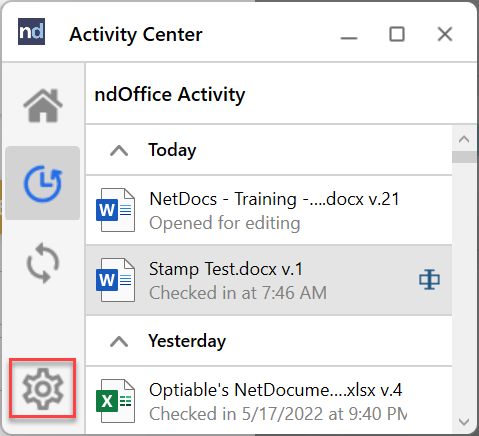
Step 1: Click on the Gear and Settings
Step 2: Click on the tab ID Stamp
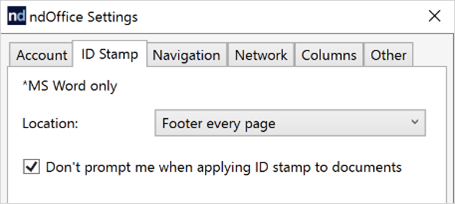
Your Options are as follows:
- Footer every page
- Footer every page except the first (one-page documents won’t have a stamp)
- Last Page (after the last text in the document)
- None (no stamping)
NOTE: This is an individual workstation setting, not something that we do system-wide.
“Don’t prompt me when applying ID stamp to documents.”
This option, if unchecked, will prompt users to adjust their settings if they open a document that has a Doc ID in a place other than that specified in the setting above. This comes into play if you open a document that has the stamping set to every page, and your ndOffice setting is set to another option like the Last Page. The Doc ID is a workstation setting and not a firm setting. It does make it easier if you have a firm policy on this.
If you get an error with a document stamp, this article will explain how to fix it: http://bit.ly/2AcM0d1
If you want to shut off the stamping for just one document, Optiable has created a Macro that will do that: https://bit.ly/3wncfwT